Electrical Cutoff
- Details
- Hits: 6559
Okay so I've taken the plunge on the electrical stuff!
First off here's a diagram of the electrics with an FIA cut off switch:
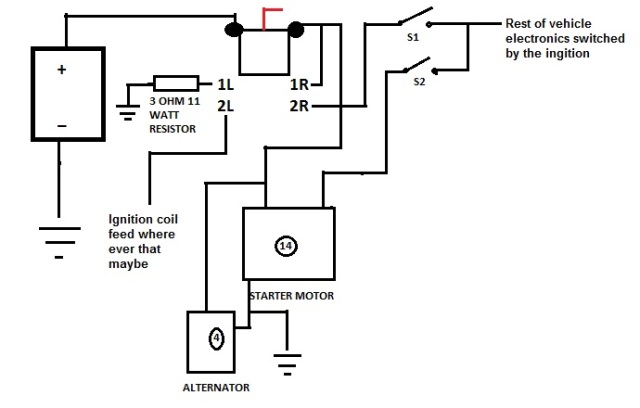
Credit goes to Richard from http://www.visionracingdevelopments.co.uk/ for helping me out with this!
I'll be using the cut off switch to hijack the car's live feed as per MSA regulations. I'll also be using the starter switch panel in place of the ignition barrel, as the wiring for the ignition will run through the cut off switch anyway. The ignition barrel still makes a handy anti theft device because without the key the steering lock will be on!
The battery cables though the bulkhead:
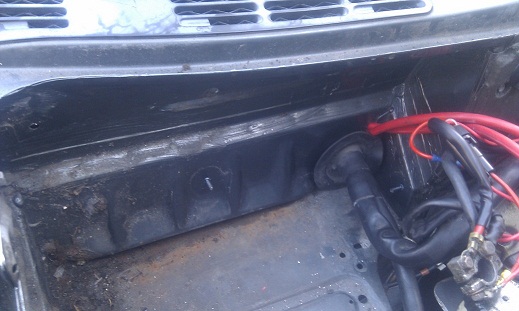
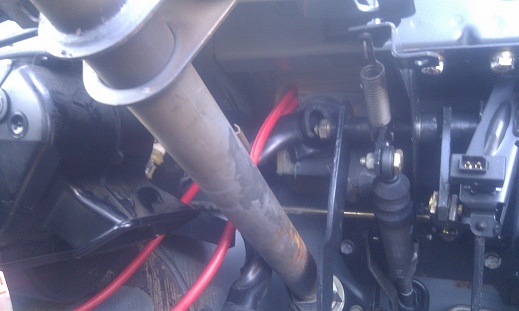
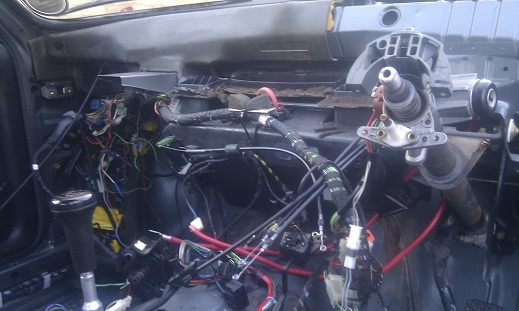
A battery cable runs from the live battery terminal to the left cut off main terminal in the diagram. Another cable runs from the right switch terminal back through the bulkhead to join with everything that was connected to the battery. The hole though the bulkhead needs making a bit wider and rounder, so I can use a large rubber grommet to keep it tidier and more water proof I guess! Failing that I might try and source some sealant.
The main ignition feeds will have to go though 2L and 2R in the diagram as this has to be switched by the cut off - even if you disconnect the battery the car can still run as I accidently found out when jump starting it! Highly inadvisable though you'll fry your electrics after a while. As they are going through the cut off switch, they can also go through the starter switch. The starter wire will also go through the starter button.
1L and 1R are joined when the cut off switch is used and set to off. This essentially allows any current from the car, namely the alternator which is producing lots of current, to go somewhere i.e. to earth and the batter negative terminal, through a beefy resistor. Otherwise all that current would have to go somewhere and it would upset things!
In summary the 4 main wires in the ignition are:
1) Red (12 volts + straight from the battery)
2) Purple,
3) Green,
4) Black.
Purple and Green are the car's power systems, they'll be wired through the starter flip switch (this represents turning the key to step 1 and 2), the black wire will also be wired through the starter button (turning the key the final bit to start).
With the dash out it's been much easier to get the switches bolted properly in place.
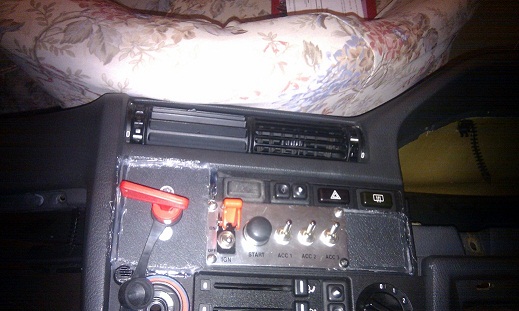
The cut off switch is in the "on" position, I just have to route the external handle cable from beneath to pull down.
Getting somewhere!
E30 Sunroof Removal & Dash
- Details
- Hits: 8301
The car's been with Mark Palmer (a well known PBMW competitor) in Bedfordshire for a week, an he's welded up and sealed the sun roof.
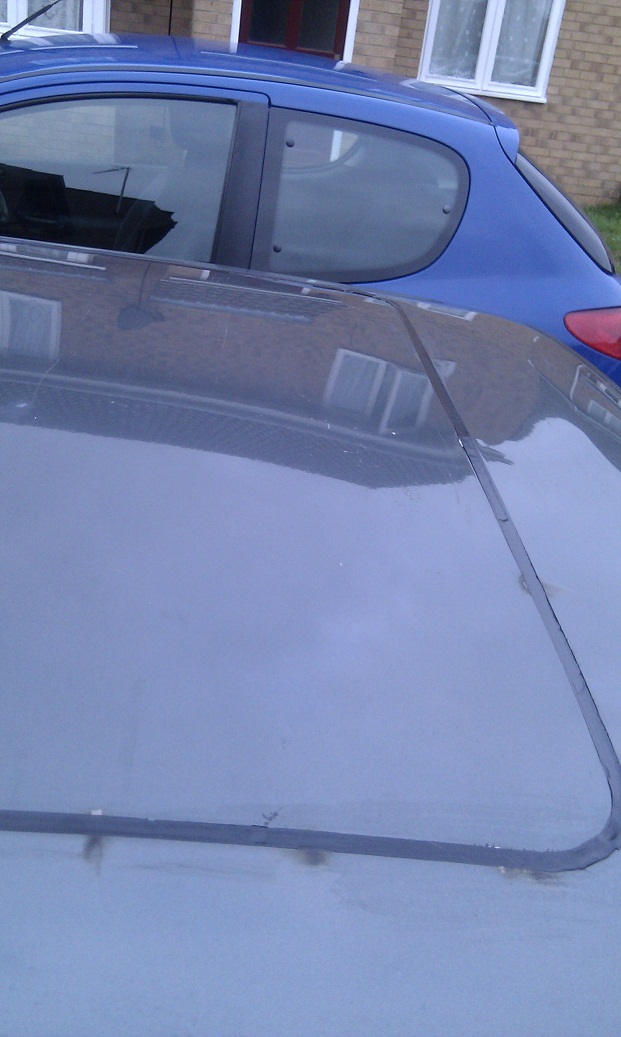
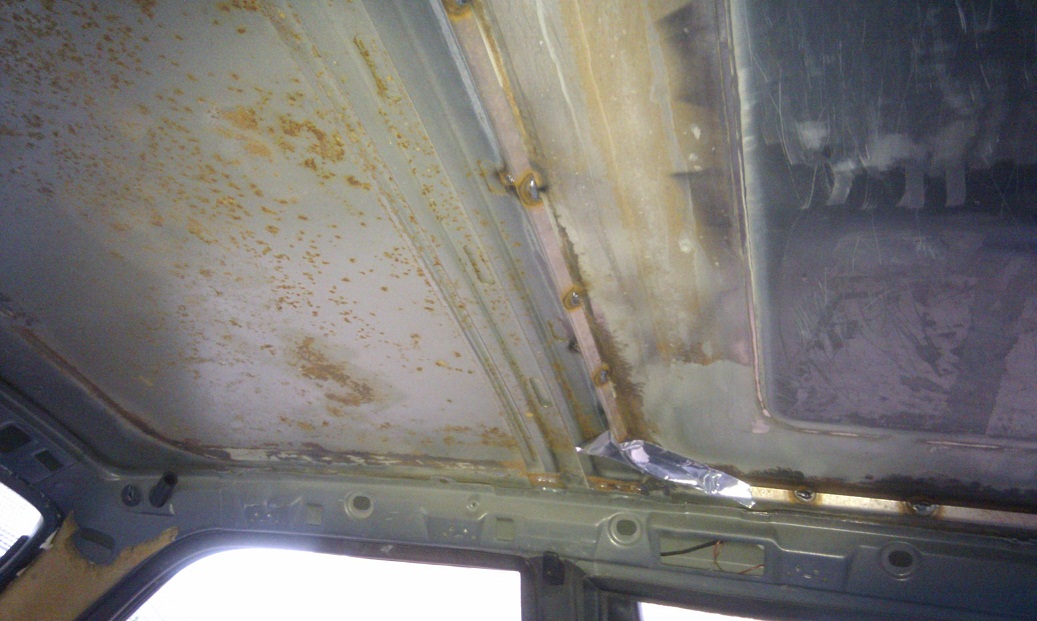
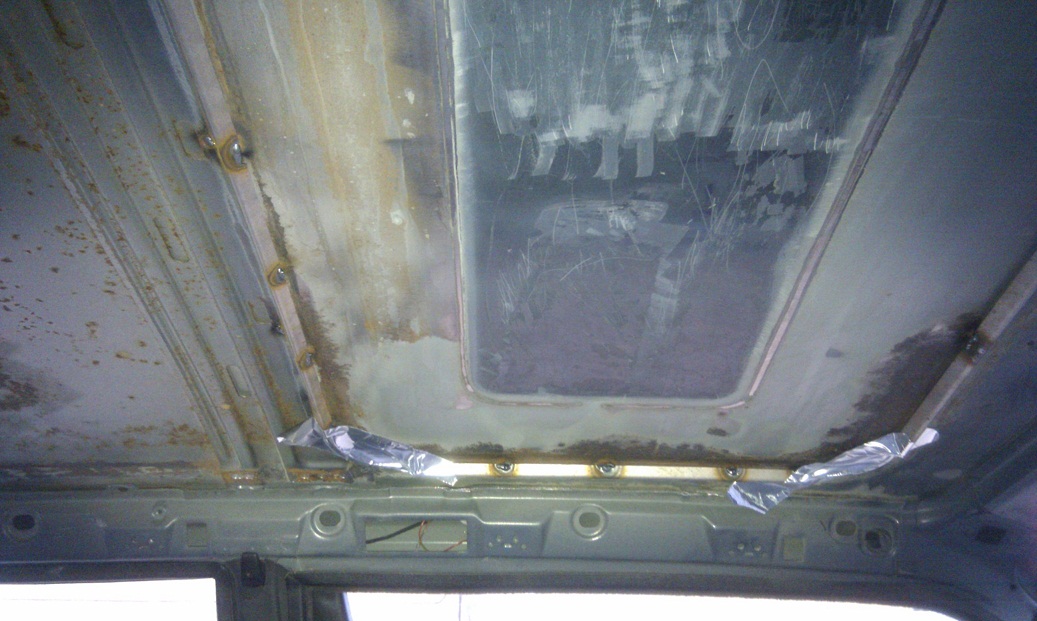
There's a bit of rust where the sunroof cassette holds water, so I'll give this a tidy. I've also had another go at the heat shielding and after just a short time and some meth spirits, a cleaner looking shell.
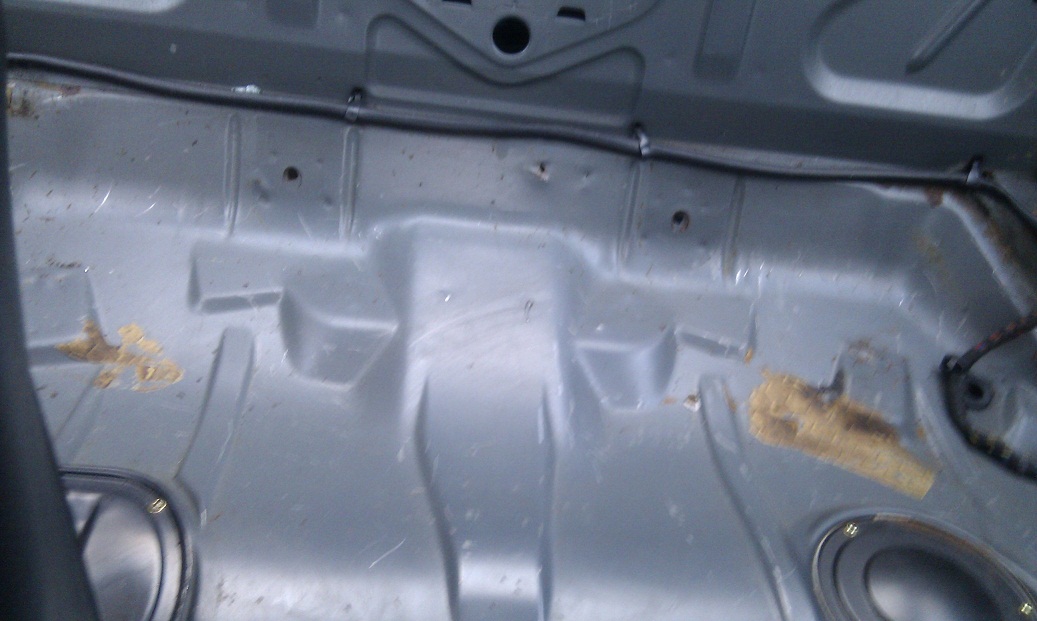
Still more to do including the doors. Spent today doing some dashboard and switch relocation shenanigans:
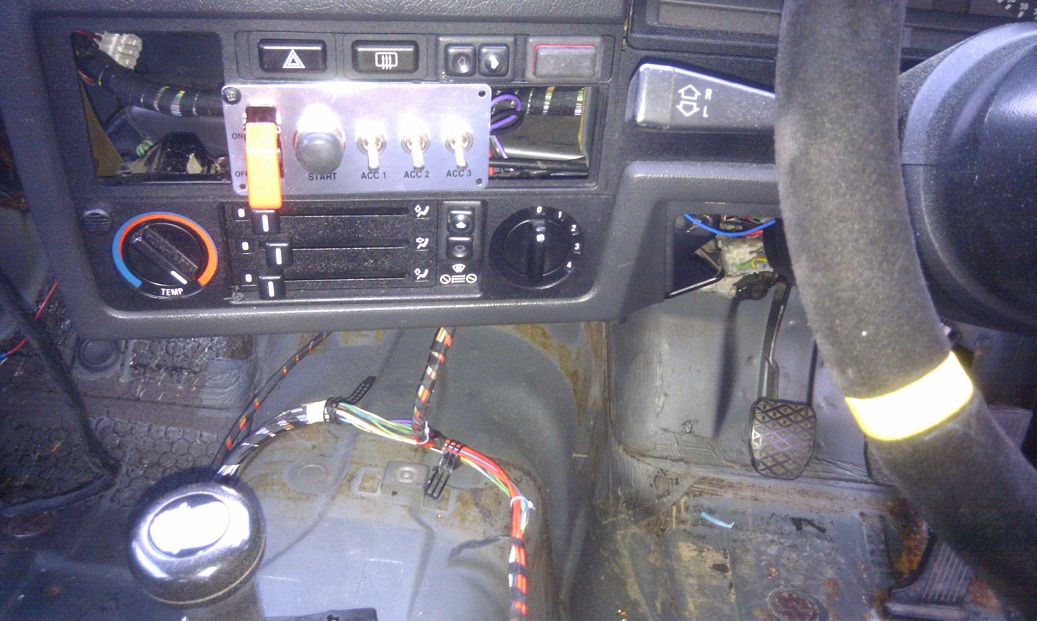
It's a start! I've fashioned a blanking plate for the radio slot, and the switches will be fixed to this with the other screws. You may notice the electric window switches are now here. I was going to switch the windows to manual - makes sense: get rid of electric motors and save weight. But another top tip I've gathered is manual window handles get caught on the roll cage, and after a knackering race it's far easier to push a button and get some cool refreshing air. So for the moment the leccy windows are staying!
I'm pleased with my un-looming and re-looming first time efforts - I had to extend and build that T junction just on the transmisison tunnel to get the switches up on the dash. My soldering skills are coming on nicely too! I went a higher grade wire than Halfords suggested, as the new stuff I was going to connect to the existing wires for the electric window motors looked too thin. Either that or BMW just over engineer their cars with better tolerances - which probably isn't far off the mark!
For the moment, the only thing connected to those switches is the electric window safety switch. The old switch now temporarily activates the horn! Just a light push does the job like a normal button. Though you can fully push it and lock the horn on - you can do this once the ignition is off without consequence, as long as you remember to switch it before you fire up again. I'd love to see the confusion on a car thief's face trying to work out where to turn the blaring horn off! The real car alarm (and this dastardly juvenile and cunning plan) will stay on the car for quite some time yet.
Safety Kit
- Details
- Hits: 6835
Time for an update... a few parts arrived from Demon tweaks today - very good prices and fast delivery, but with such a wide selection on their website it's compulsive browsing. Website could do with a bit of work, but it does the job!
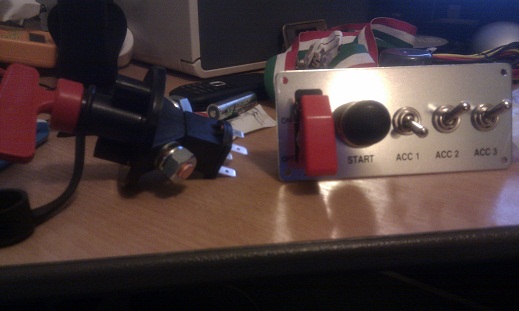
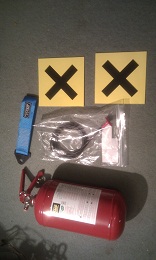
 I've done a reasonable amount of research, into the wiring and plumbing aspects of the safety kit. Essentially you need a cut off switch that kills the live electronics of the car, which can be activated by yourself easily and also the marshals outside the car. You also need a plumbed in Fire Extinguisher with the same mechanisms.
Wired up the horn away from the wheel - otherwise you turn the wheel and the wires get twisted! This will be a push button on the dash somewhere. Also cleared out Halfords and Homebase for a few more tools and supplies like heat shrink tubing, connectors etc.
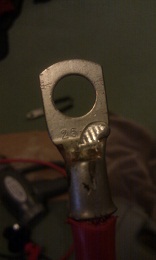
Helped myself to plenty of youtube tutorials on soldering and splicing / general wiring.Bit of extra wide heat shrink on this and that's one end done! You can see wire but honestly it's impossible to pull apart - plenty of liquid solder in the hole then push the wire in, leave it set, jobs a good 'un!
Next update will be the car much cleaner inside after I attacked it with some spirits and a tea towel! Also booked the car in to get the sunroof welded and the sunroof cage removed this weekend. Pics will follow.
