Back on 4 wheels
- Details
- Hits: 7608
Braved the cold today and finished the back...that was around 4-5 hours work today but it's great to at last finish the whole rear beam bushes job, and the disc conversion.
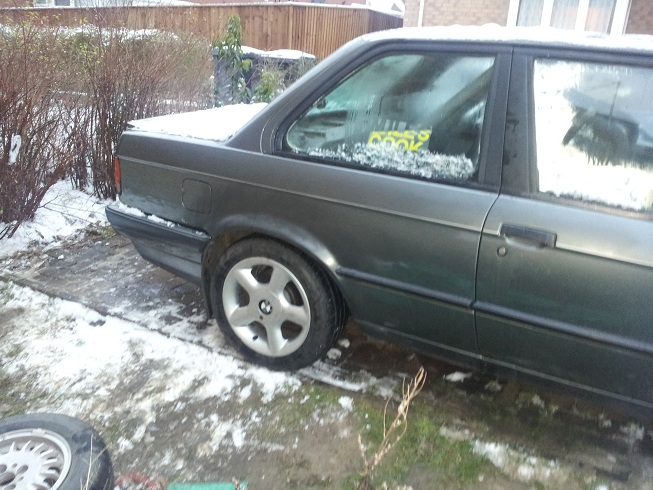
Really painful top tip - I usually do any nuts up tight as I go along. However, when I came to bleed the left rear brake, I was pumping forever with the one man kit, pumping the brake pedal and still getting loads of air. Sadly when I looked under the car I saw why... a puddle of brake fluid.
Firstly the hose connecting to the trailing arm was way too loose, so tightend that. Tried again. To my utter horror, I saw that the same hose was not tight enough going to the brake pipe. This was seriously bad news, as the beam is in the way. I had images of having to take the whole lot back off again, after 2 weekends of putting it back on... Fortunately, you can just about get two spanners in front of the beam, so I nipped the connection tight - very tricky with no room and baltic cold hands! But no more leaking.
I'm still getting what seems to be air though, so I tried the other (driver's) side. This was much simpler. (Possibly because a fellow zoner did part of that side for me....) I bled the fronts - much simpler as they also have one way speed bleeder valves. I will go back to the left rear, when I actually have the correct size spanner too. It's a 7mm bleed valve for some reason.

The suspension looks very low and odd on one side, but thinking about it the old trailing arms and beam plus trolley jack are in the boot.
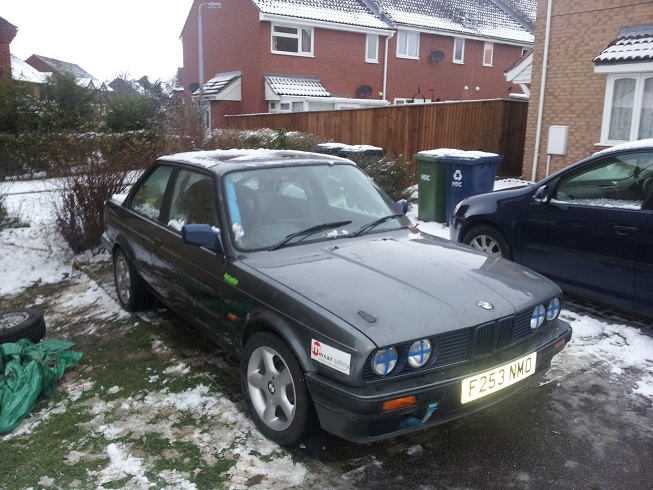
And there we go! She's back on 4 wheels. Very carefully moved it back and forth, worryingly it seemed to snag and go up slightly.. balls!!! What have I done.... Clearly something catastrophic like the drum brakes are on back to front, or the driveshafts are getting snagged, something's broken etc. I'm very worried at this point.
Raised the back on the diff and put in to first gear, okay so the wheels are moving fine - right faster than left but all ok. So what's going on?
Turns out the wheel chocks were still in front of the front wheels ![]()
So after (removing the chocks and) very carefully trying the brakes and steering (which is now much nicer with new fluid I replaced several months back!), I carefully edged on to the cul de sac, literally 20 metres then reversed back. All seems ok. Job done! Sort of...
Next, need to sort out the other handbrake cable, nice and cheap - I'll do that next month. Then I'll clean the interior back up, as there's been lots of rusty parts sat there. I also need to sort out the exhaust mounting more importantly - perhaps a welding job for a garage same time as MOT? I've got the original mount from the other beam it just needs to be attached to this new one. I'm also going to update the chap I bought the car from - he wanted me to keep him posted, and I dare say he might be impressed.
E30 Rear disc conversion
- Details
- Hits: 11560
This update is all about the rear disc conversion. Firstly, re-assembled the brakes and new handbrake cable:

Then got everything out of the boot, and started to wonder how on earth it was all going back on...
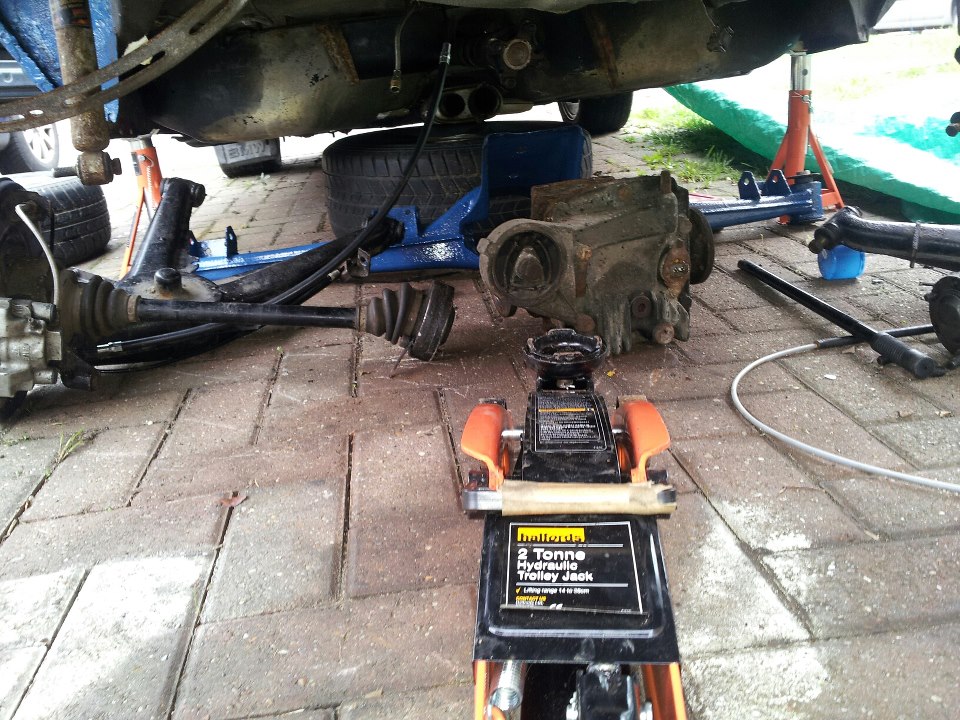
If you are wondering which part is the rear beam I keep mentioning, I thought I'd spray it blue to point it out... You can also see the replacement brake pipe section - cheers Richard Harrison!

I was going to rebuild the lot and raise the beam and diff plus trailing arms - this quickly seemed a dumb idea. Diff is probably 40-50kg, beam 10kg, trailing arm and hub around 30 each. So I put the beam up, and worked the diff up to it on a trolley jack. Tricky, but very doable, however it hurts when it falls on your hand... Lining up the propshaft early is a good idea as it's a tight fit to clear the diff bracket, and raise at an angle.
Even trickier is man handling a trailing arm and hub in to the correct position on the subframe. On your own. Not fun.
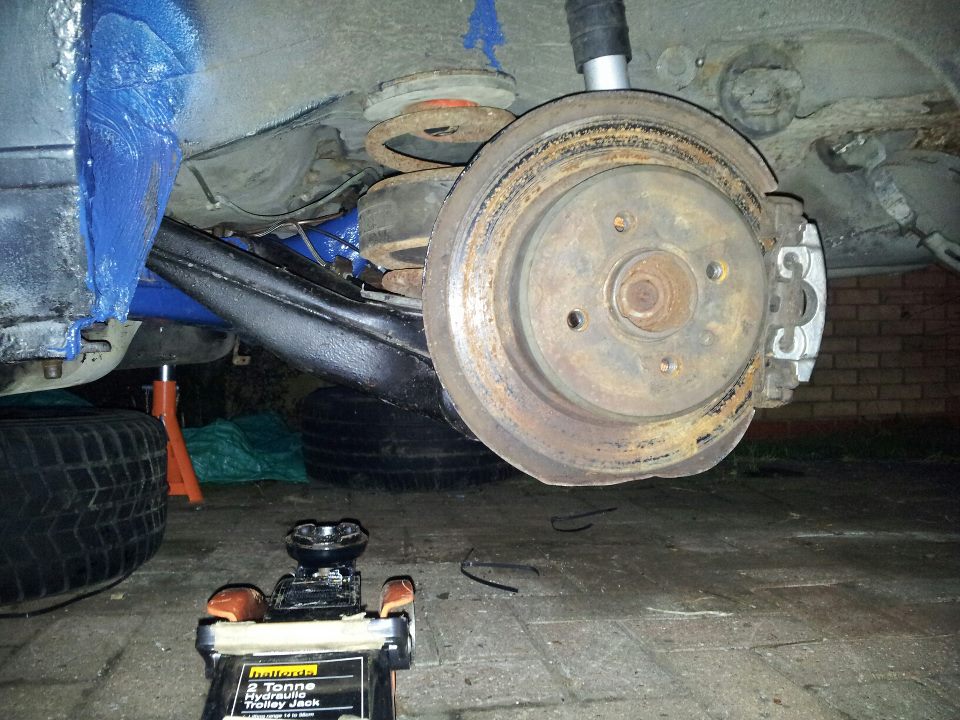
But, afer 3.5 hours, I got one arm sorted! Realised the spring rubbers are the wrong way round. Oh well no biggee, easy to change.
So on to the following day, full of optimism at getting the driver's side sorted. Little did I know this was going to be the worse job I've ever carried out...
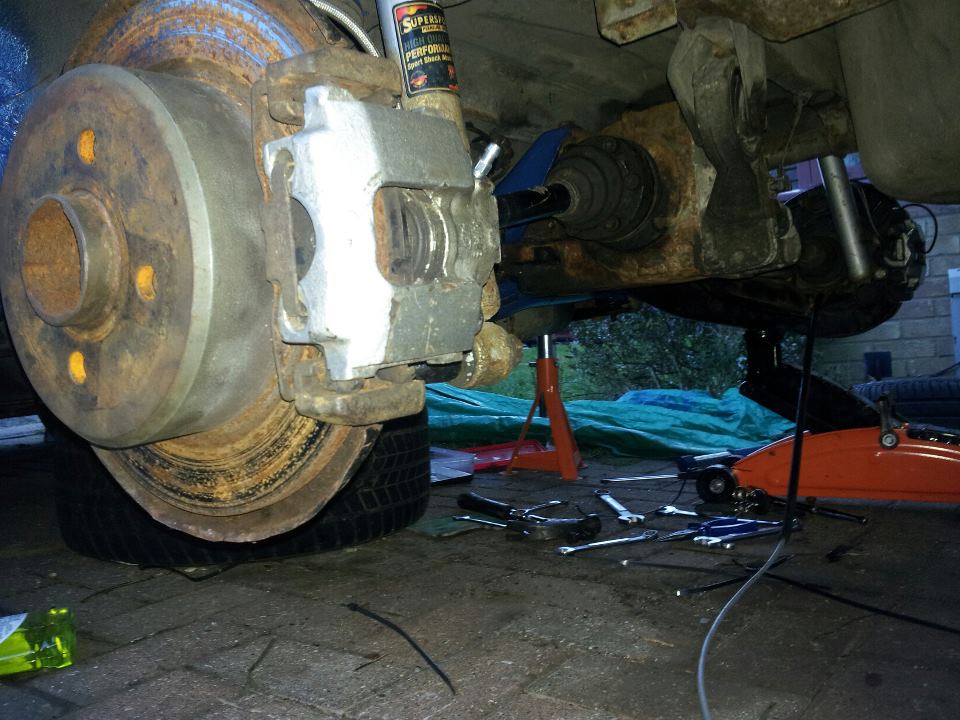
I took this picture just to give me a break from the driver's side arm. At this point, the driver's side arm is not actually attached... the first 3 hours of the day's work were spent getting very angry, as the arm would catch on the bush metal inserts slightly and not go in! I just couldn't believe it.. Was the arm bent? Is that why it was being sold? I tried the arm in the old beam - same problem. I was getting pretty frustrated, almost at breaking point. I filed as much as I dared the bush inserts that were catching, still no joy. In the end I bent the outside of the bracket in the middle with pliers, just enough to slide the other side in. And when it did go in, I could have cried... Very knackering on your own and the worst job on the car so far. But she was in.

The next job was right there - the exhaust. It's a heavy thing, but this new trolley jack is like an extra pair of hands, so not too concerned. Upsettingly, the replacement beam doesn't have a mounting point for the mid point exhaust hanger. Had I realised this, I would have got the new bushes installed in the old beam. I'm sure a bit of garage welding will sort that though. So after 2 days work, we're now almost at the finish line for the back:
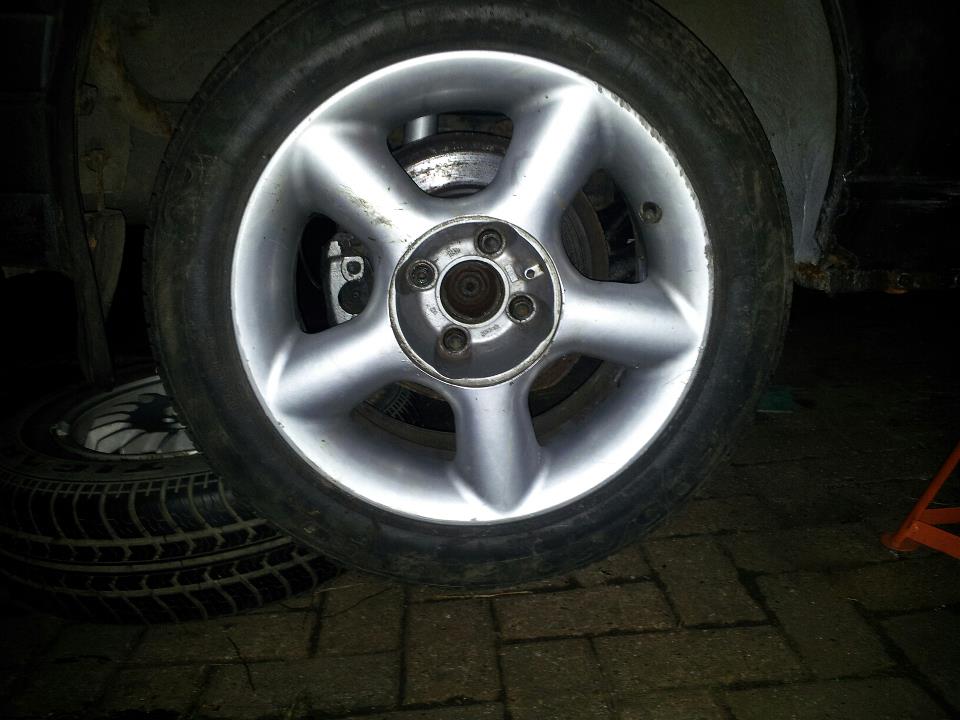
And I was out of daylight. But this is what all (well part of) the fuss is about - disc brakes! I'll need a second handbrake cable, as the one cable I got with the trailing arm set came without a metal sleeve. At £15 from eurocarparts, it's not a disaster.
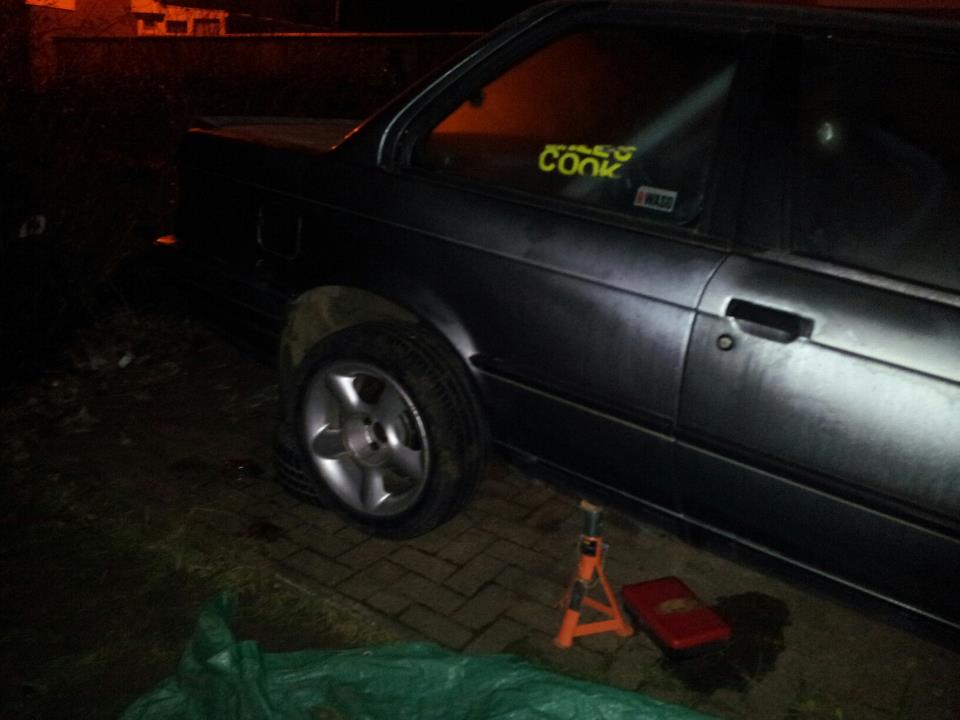
Keeping the car on the axle stands until next weekend, for the grand lowering on to it's wheels after months in the air... I'll be pumping the new brake fluid in, bleeding the brakes with my new brake bleeding gadget I've had for months.
Rear Subframe Removal
- Details
- Hits: 9209
After an awful lot of effort trying to get one bush in, I resorted to a persuading device. Unfortunately this damages the alloy core and wasted a bush. So I admitted defeat, bought a replacement and popped to my local garage. It took them less than 15 minutes! So there's a top tip...
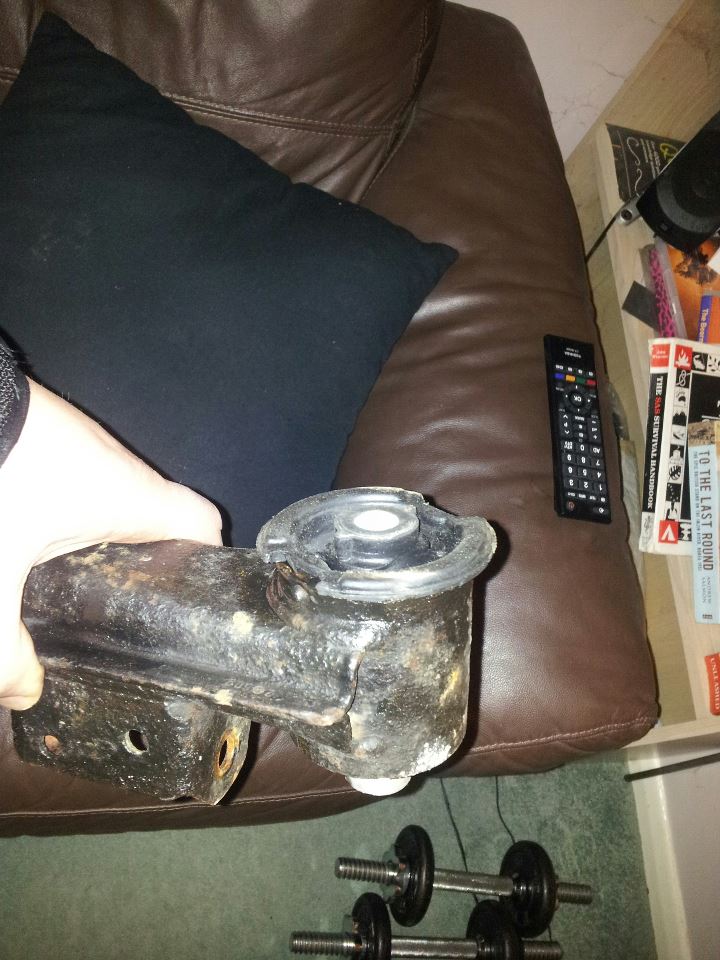
Next step was to remove the old subframe. With the help of a tame race mechanic, the result is below!
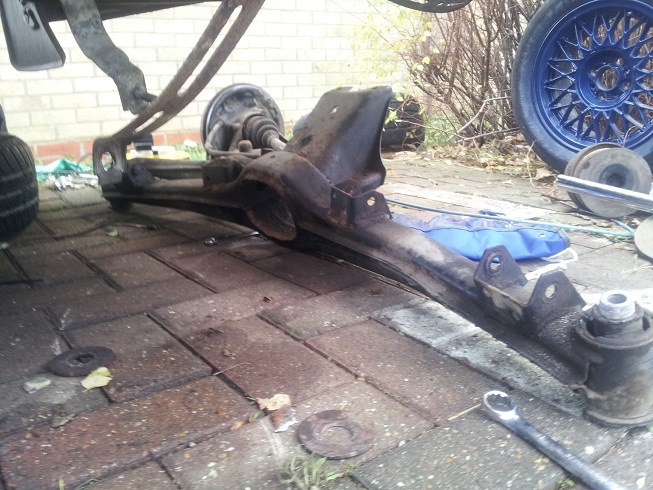
The right side came down okay, the left not so, so we took off the trailing arm and really went to town on it. Part of the alloy bush insert ripped off in the process, but we sorted that.These things do corrode to the body after 20 years.
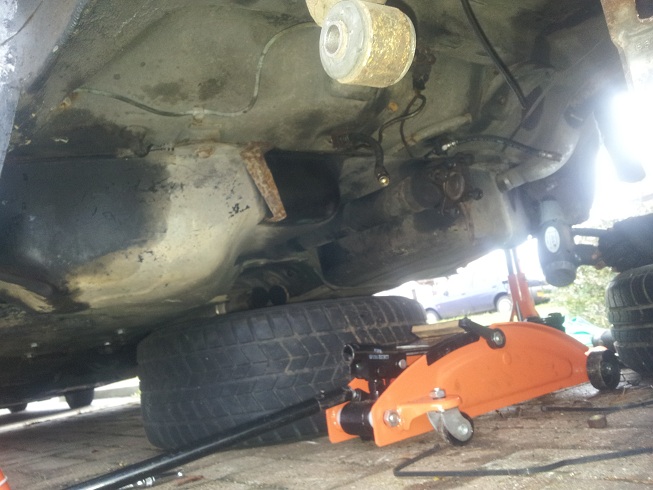
The rear of the car looks a bit weird now. The only troubles we had was one backing plate bolt decided to be circular inside instead of hex, so I had to drill it out. Fortunately the plate spins vertically after persuasion allowing room for the subframe to slip past. Another drama:

The T section of the rear brakes used to have a small connecting pipe that sharply bent towards the flexible subframe hose. Unfortunately whatever ham fisted mechanic had "replaced" this section had bent the pipe so much it's probable that the car had very limited rear brakes. So a new one is being made up before the subframe can go back on.
Slightly annoyingly, the subframe that is ready to go back on, is from a touring which as it turns out, doesn't have an exhaust mounting bracket like mine. But nothing that can't be fixed... oh and heat guns - my saying of that day - are very much under rated! Not quite as good as oxy torches, but still pretty awesome at persuading bolts off.
