Trailing Arm and Rear Beam bushes
- Details
- Hits: 9091
After a lot of research, I've begun the much feared process of the rear bushes replacement process. I have a new set of trailing arms and rear beam ready for a disc conversion. So I bought a trolley jack and set about removing the rear beam. So I thought!

There's quite a lot to do, and a very good guide on the E30 bible, otherwise known as the e30zone.net for the trailing arm bushes and rear beam. In a nutshell, I need to take the exhaust off, disconnect the driveshafts, disconnect the propshaft from the diff, remove the diff, remove the trailing arms (possibly take the fuel tank out first), undo the brake lines, and then finally take the beam off...
In a couple of sessions I managed to removed the driveshafts (cable tied so they didn't dangle), got the exhaust off and disconnected the driveshafts. Not exactly lightning fast work sadly.
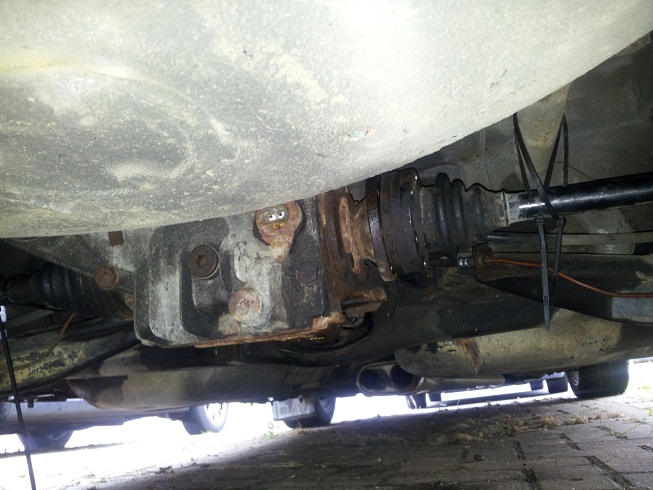
After trying a G clamp and getting nowhere, I tried the clever DIY tool method from http://www.e30zone.net/e30zonewiki/index.php/Replacing_Trailing_Arm_Bushes and after a visit to screwfix and £10 worth of tools, the result is below!
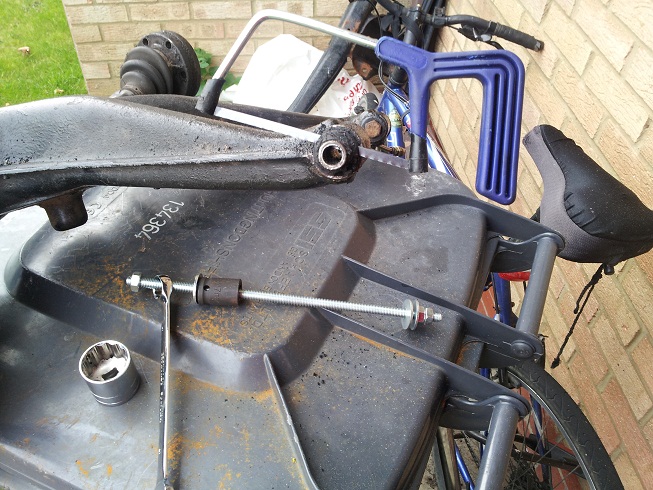
Basic tools, first time I've bought 'threaded bars', well worth it. I've gone through two already though so glad I bought a pack of 5. The nuts chew through the thread.
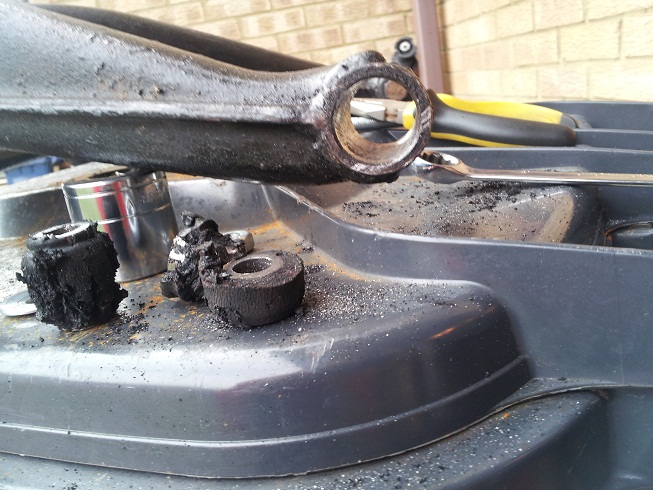
I'd drilled into the rubber which probably made it come out easier. Winding the bush out into the large socket, then jigsaw-ing the overhang, then pulling the rest out. Very satisfying to see the bush out after 20 odd years.

Then with the help of a bit of fairy liquid, the new bush popped in relatively easily. Chuffed to bits! 3 more to go though sadly...
So next step is then the other 3 bushes, then getting the diff off and the old rear beam. It's pretty chilly outside these days so I'm making slow progress on the weekends.
Mirror and rear beam E30 disc conversion
- Details
- Hits: 7819
Had my first project sponsor! Massive thanks to James Wallbank for his generous donation, and here is his contribution:
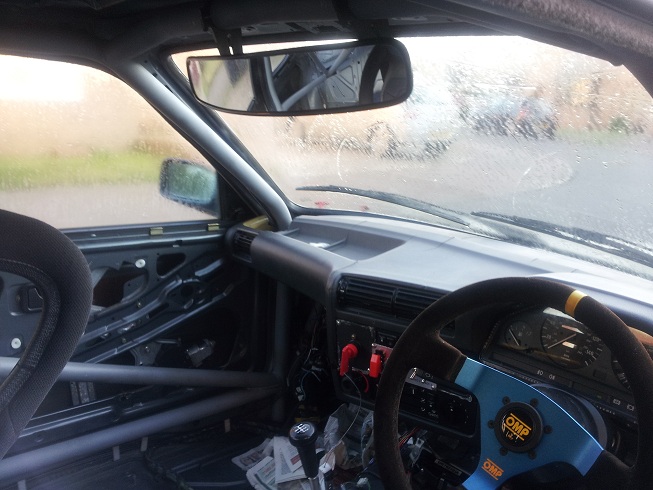
The new addition is a Longacre 17 inch mirror. It gives pretty good view all around the back of the car and to the passenger side front window!
Invested in some flame retardant padding, keeping with the colour scheme:

This is located anywhere my helmet might hit above, or my right leg. Not so much my ankle though, otherwise I'm ruuning out of room near the loud pedal. On the plus side, I now have a comfy arm rest.
Also this week:
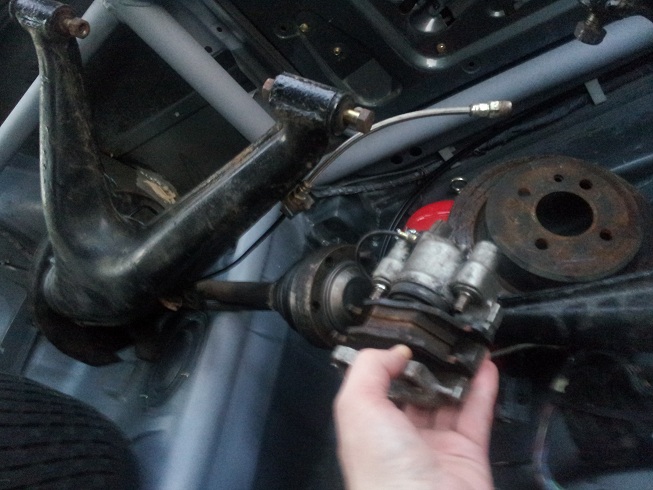
So I bought a replacement rear beam complete with disc brakes, calipers (in great condition), pads, braided hoses and trailing arms. Only by dismantling the entire thing in the back of my Fiesta allowed me to single handedly take it out! Heavy stuff. So after reading countless rear bram removal guides on the interweb, I'm going one slow step at a time. Slow being the correct word...
I burnt, hacksaed, burnt, hammered, hacksawed and burnt again for good measure. The rear beam bush that bolts the beam to the car was going nowhere. So I gave up, went to B&Q and bought longer blades for my jigsaw. After 15 mins, the result was the below!
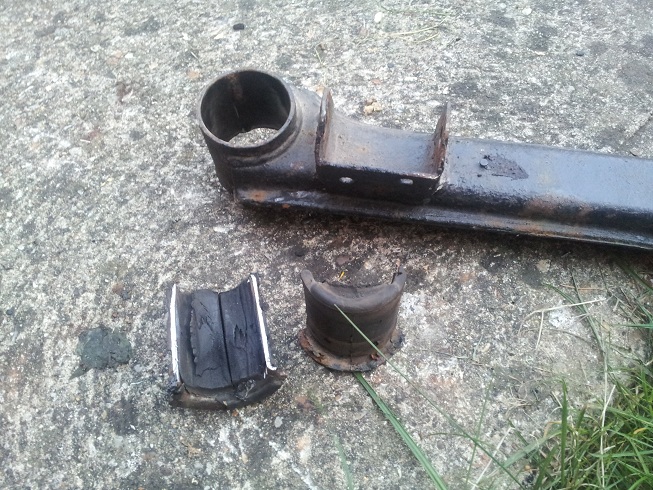
A bit of how powered jigsaw followed by ensuring I hadn't gone through to the beam itself, on both sides inside the bush, and eventually I was able to prise out the bushes that had sat quite happily in that beam for 20 odd years. I'll replace with original Lemforder ones to ensure the back end is not to stiff, rather than polybush firmness. These cars apparenlty don't respond too well to hardcore stiff suspension at the rear as traction becomes an issue, so I'm taking a recommended alternative route. I'm considering sticking to inboard springs rather than coilovers for the same reason.
Next up I'm ordering the replacements, plus the 4 trailing arm bushes. With thos in, I'll be ready to take the old beam off... very scary!
Race battery bracket
- Details
- Hits: 7777
Just a small update, I've finally secure the race battery with a fabricated bracket. I'm not 100% happy with it, but it's solid and secure enough to drive around roads for now.

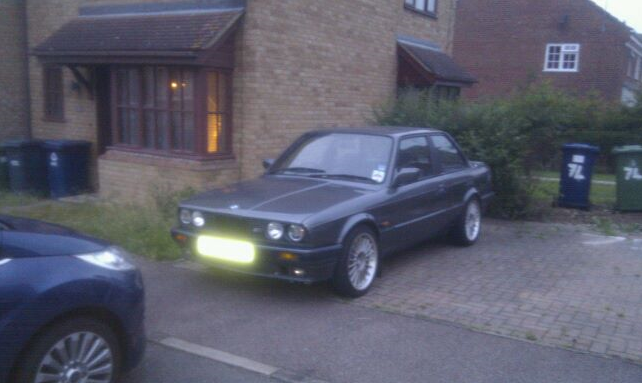
I might give the roll cage turret struts a lick of hammerite or a spray of primer. Also thought I'd show the story so far, against how it started...!
June 2011:
September 2012:
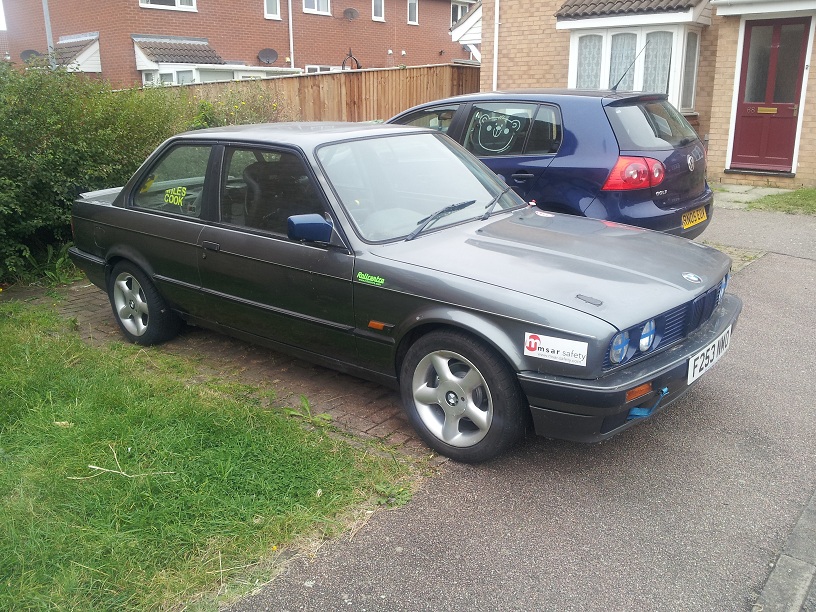
Slow progress! But getting there. I'm looking at getting a rear beam with disc brake conversion after all, the beauty of that is to replace all that makes it worth replacing the brake lines (you need 4 for discs) plus the tricky suspension bushes at the same time. So that could be the next update.
The scary thing is, after than I need sports suspension, race transponder and 4 race tyres, and I'm done! Wow...
